Techniek - Disconnects
![]()
Ditmaal een interessant artikeltje dat we vonden over het verwijderen cq. loskoppelen van de swaybar. Het is in het engels en is geschreven door iemand in het bezit van een Jeep XJ. Veel leesplezier en wie weet kun je het nog eens toepassen op je eigen 4x4!
As I learned last weekend, disconnecting the swaybar from the front of the XJ will significantly increase front axle articulation. Once I had removed the stock links a couple of times, I decided that I needed quick disconnects. I called around and searched the Web for a good price and design that I liked. Basically the price range I was looking at was $60-70 for stock links that I would have to change out if (read when) I lift the truck. The designs that are out there vary from one piece to three piece with different attaching methods varying from bolts to pins. After looking at them I decided that I preferred to remove the entire link rather than leaving parts attached where they could be damaged.
Tomken Machine uses a pin and wing-nut to retain a one piece link and after looking at their 3" link, I decided that I could probably modify the stock links to work the same way for significantly less than their price of $65.
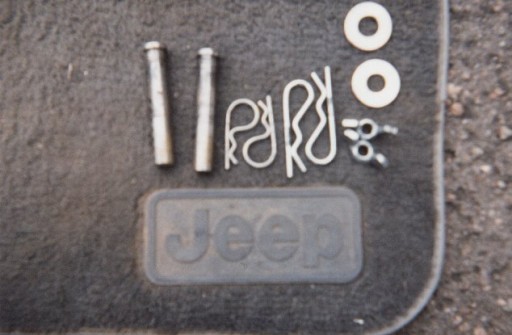
Here is what you will need to buy to modify your stock links:
2 Hitch Pins .072" by 1-7/8"
2 Hitch Pins 1/8 by 2 - 9/16
2 Stainless Flat Washers
2 Tine Pins ¸ by 3
2 Metric Wing Nuts 10mm - 1.50 pitch
Once you have all of the parts, either drive to a machine shop and remove your links there or remove them at home and take them there. If you have a good drill press and trust yourself to drill the 7/64" or 1/8" holes in the threaded area you can save the cost of having them drilled by doing it yourself. I had my holes drilled 1/3 inch (4 threads down) from the top of the link. Make sure you have the threads filed so that the wing nuts are easy to spin on before you leave the shop. The total work cost me $13 at one of the local shops.
Now it's time to assemble your links.
First turn the wheels full lock to the left so you have room to work.
Push one of the Tine Pins through the axle mount so that the flange is on the wheel side of the axle. There are five or six holes on the pin and if you want, you can have it cut down a little, but there is nothing that it will hit if you leave it three inches.
Slide the link over the Tine Pin and pull the swaybar down onto the link.
Slide the washer over the Tine Pin and install one of the 1/8 by 2 Hitch pins in the hole. Mine lined up perfectly with very little play.
Install the bushings and then put the wing nut on the link, but don't tighten it down yet.
Turn the wheels full lock to the right.
Put the link through the swaybar like the other side, but tighten the wing-nut down and install the 1/8 by 1 hitch pin through the hole you had drilled.
Install the Tine Pin on the right side exactly like the left. If you are not on level ground, this may be difficult because the swaybar will not line up with the hole in the mount. Alternately, you can install one side, move the truck until it lines up and then install the other side.
Once you get the right side pinned, turn the wheels back to the left and tighten down the wing nut and install the upper hitch pin.
Tomken has a nice setup to retain the bar out of the way once it is disconnected, but I have found that a 6 inch long small bungee cord works just as well and cost $1.49 for 4 at Wal-Mart. That's it, once you remove them a couple of times it becomes extremely easy and takes about a minute to do both sides.
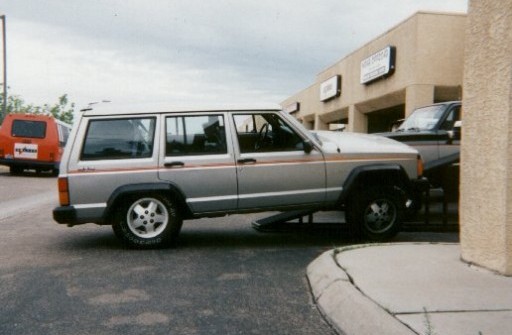
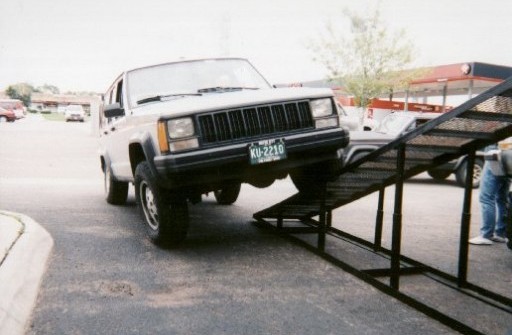
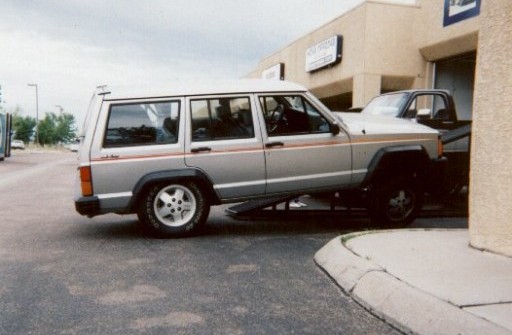
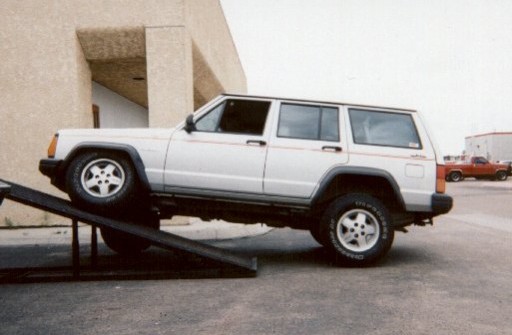
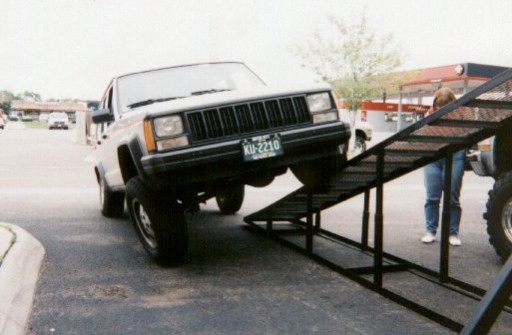
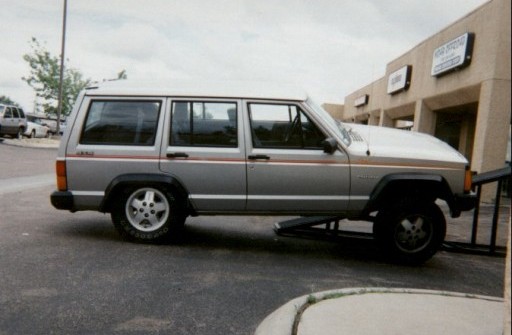
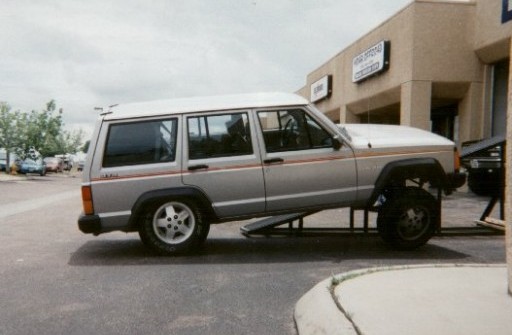
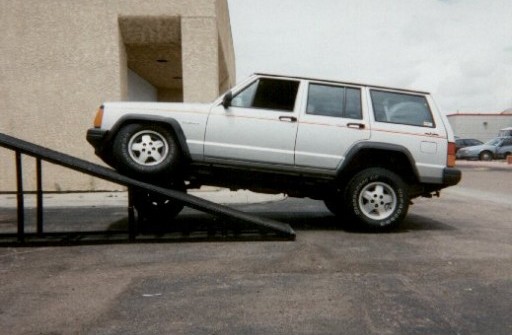
Here are the ramp figures and pictures with and without the bar connected on our stock 91 Sport. This was done on a 20 degree ramp.
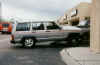
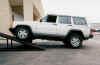
460 RTI (front swaybar connected rear swaybar attached)
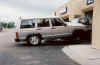
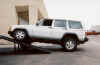
651 RTI (front swaybar disconnected rear swaybar attached)
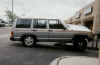
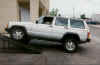
519 RTI (front swaybar connected rear swaybar removed)

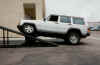
691 RTI (front swaybar disconnected rear swaybar removed)
As you can see, this makes a BIG difference in how much travel you can get out of a stock rig. The only reason I didn't break 700 was because the rear shocks ran out of travel and the left rear wheel was lifting off the ground. I have had this setup on our 91 Sport for three weeks and haven't had any problems with it at all.
Many thanks to Sean and the guys at Moab Off-Road here in Colorado Springs for the use of their ramp for this article.
Meer informatie kun je vinden op : JKS Performance Suspension Components
Bron: MOAB Offroad
Auteur: Joe Hinson[ vorige pagina ]
![]()